Imagine effortlessly gliding through the streets, your feet securely locked into your pedals, giving you maximum power and control. Installing clipless pedals may seem intimidating, but fear not! In just a few simple steps, you’ll be able to install them like a pro. This guide will walk you through the process, from gathering the necessary tools to attaching the new clipless pedals.
With a little bit of patience and the right instructions, you’ll be ready to conquer any cycling adventure with ease. So let’s get started and turn your bike into a high-performance machine!
1. Gather the Necessary Tools
To successfully install clipless pedals like a pro, you’ll need a few essential tools. First, make sure you have a pedal wrench or Allen key. These tools are specifically designed to fit the pedal spindle and allow you to tighten or loosen it securely.
Next, you’ll need a torque wrench. This tool ensures that you apply the correct amount of force when tightening the pedal spindle, preventing any damage or stripping of the threads. Additionally, it’s important to have a grease or lubricant to apply on the pedal threads. This helps reduce friction and ensures smooth installation.
Finally, a rag or towel will come in handy to clean any excess grease and keep your work area tidy. With these tools at hand, you’ll be ready to install your clipless pedals like a pro.
2. Remove the Old Pedals
To begin removing the old pedals, gather your pedal wrench or Allen key and position it securely on the flats of the pedal spindle. Ensure that the wrench or key is properly aligned with the pedal, allowing for maximum leverage. Apply force in a counterclockwise motion to loosen the pedal.
Be cautious of any resistance and use steady pressure to avoid damaging the threads. Once the pedal is loosened, continue rotating it until it can be removed by hand. Repeat the process for the other pedal. Remember to turn the pedals in the correct direction – left pedal counterclockwise, right pedal clockwise – as they’re threaded differently. With both pedals removed, you’re now ready to install the new clipless pedals.
3. Prepare the Crank Arms
You can now prepare the crank arms for installing the new clipless pedals. Before you begin, make sure you have the necessary tools, including a pedal wrench and a rag. Start by removing any dirt or debris from the crank arms using the rag. This will ensure a clean and smooth surface for the pedals to be installed.
Next, apply a small amount of grease to the threads of the new pedals. This will help prevent them from seizing or becoming difficult to remove in the future. Finally, carefully thread the pedals into the crank arms, making sure they’re tightened securely. Remember to thread the right pedal clockwise and the left pedal counterclockwise.
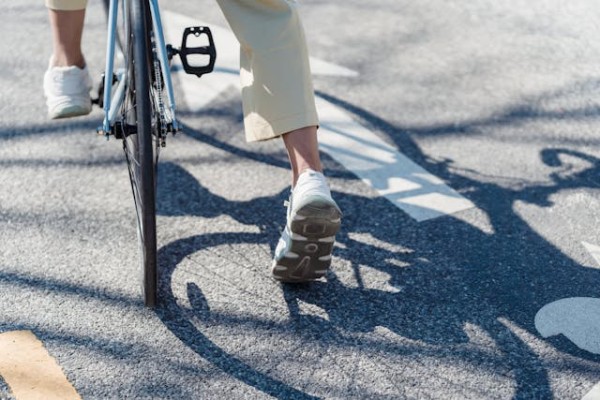
4. Install the Cleats on Your Cycling Shoes
To properly install the cleats on your cycling shoes, begin by positioning them in the desired location on the sole. The position of the cleats is crucial for optimal pedaling efficiency and comfort. Most cycling shoes have markings or guidelines to help you align the cleats correctly.
Make sure the cleats are centered under the ball of your foot, as this will provide the best power transfer. Use a hex wrench to tighten the screws that secure the cleats to the shoe sole. Ensure that the screws are tight enough to hold the cleats in place but not so tight that they damage the shoe or restrict movement. Double-check that the cleats are securely fastened before heading out on your ride.
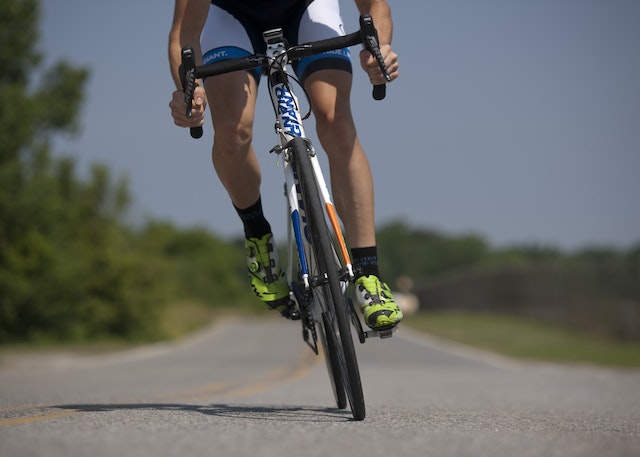
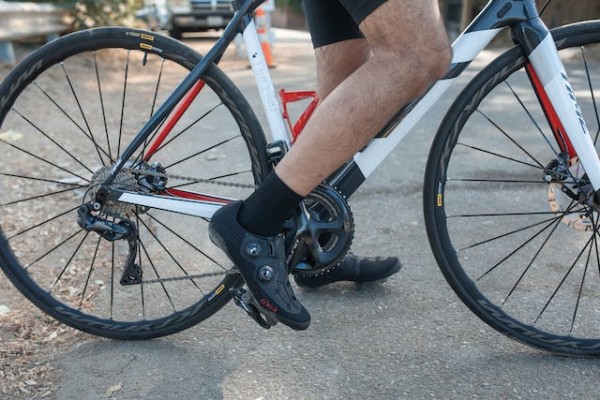
5. Attach the New Clipless Pedals
To attach the new clipless pedals, begin by firmly inserting the pedal spindle into the crank arm. Make sure the threads are aligned properly and tighten the pedal with a pedal wrench or an Allen key. Apply enough force to secure the pedal, but be careful not to overtighten and damage the threads.
Once the pedal is securely fastened, repeat the process for the other pedal. Remember to attach the left pedal to the left crank arm and the right pedal to the right crank arm.
Ensure that both pedals are securely attached before attempting to ride. Double-check the tightness of the pedals before each ride to prevent any accidents or damage to your bike.
Frequently Asked Questions
How Do I Choose the Right Type of Clipless Pedals for My Cycling Shoes?
To choose the right type of clipless pedals for your cycling shoes, consider the type of riding you do and your personal preferences. Road cyclists generally prefer pedal systems that offer a large contact area for maximum power transfer. Mountain bikers often opt for pedals that have a recessed cleat design for easier walking off the bike. It’s also important to ensure compatibility between the pedal system and your cycling shoes.
Can I Use the Same Cleats on Different Types of Clipless Pedals?
Yes, you can use the same cleats on different types of clipless pedals. Most cleats are designed to be compatible with multiple pedal systems, such as Shimano SPD and Look Keo.
However, it’s important to check the compatibility of your cleats and pedals before installing them to ensure a secure and efficient connection. Refer to the manufacturer’s instructions or consult with a bike shop if you’re uncertain about compatibility.
How Tight Should I Tighten the Pedal Onto the Crank Arm?
When tightening the pedal onto the crank arm, you want it snug but not over-tightened. Imagine shaking someone’s hand firmly, but not crushing their fingers. You want a secure connection without damaging the threads or causing any stress.
Use a pedal wrench or an Allen key, depending on the type of pedal, and tighten it until it feels secure. Remember to check periodically to make sure it hasn’t come loose during your rides.
What Should I Do if I Encounter Any Difficulties While Installing Clipless Pedals?
If you encounter any difficulties while installing clipless pedals, there are a few steps you can take.
First, make sure you have the correct tools and parts. Next, double-check your instructions and ensure you’re following them correctly. If you still have trouble, try consulting online tutorials or reaching out to a professional for assistance. Remember to take your time and be patient, as installing clipless pedals may require some practice and trial and error.
Conclusion
Now that you have learned how to install clipless pedals like a pro, you’re ready to conquer your cycling adventures with confidence and efficiency. Embrace the thrill and freedom that come with using clipless pedals, knowing that you have the necessary tools and skills to install them correctly. So, pedal on and let your passion for cycling soar, as you enjoy the benefits of this advanced pedal system.